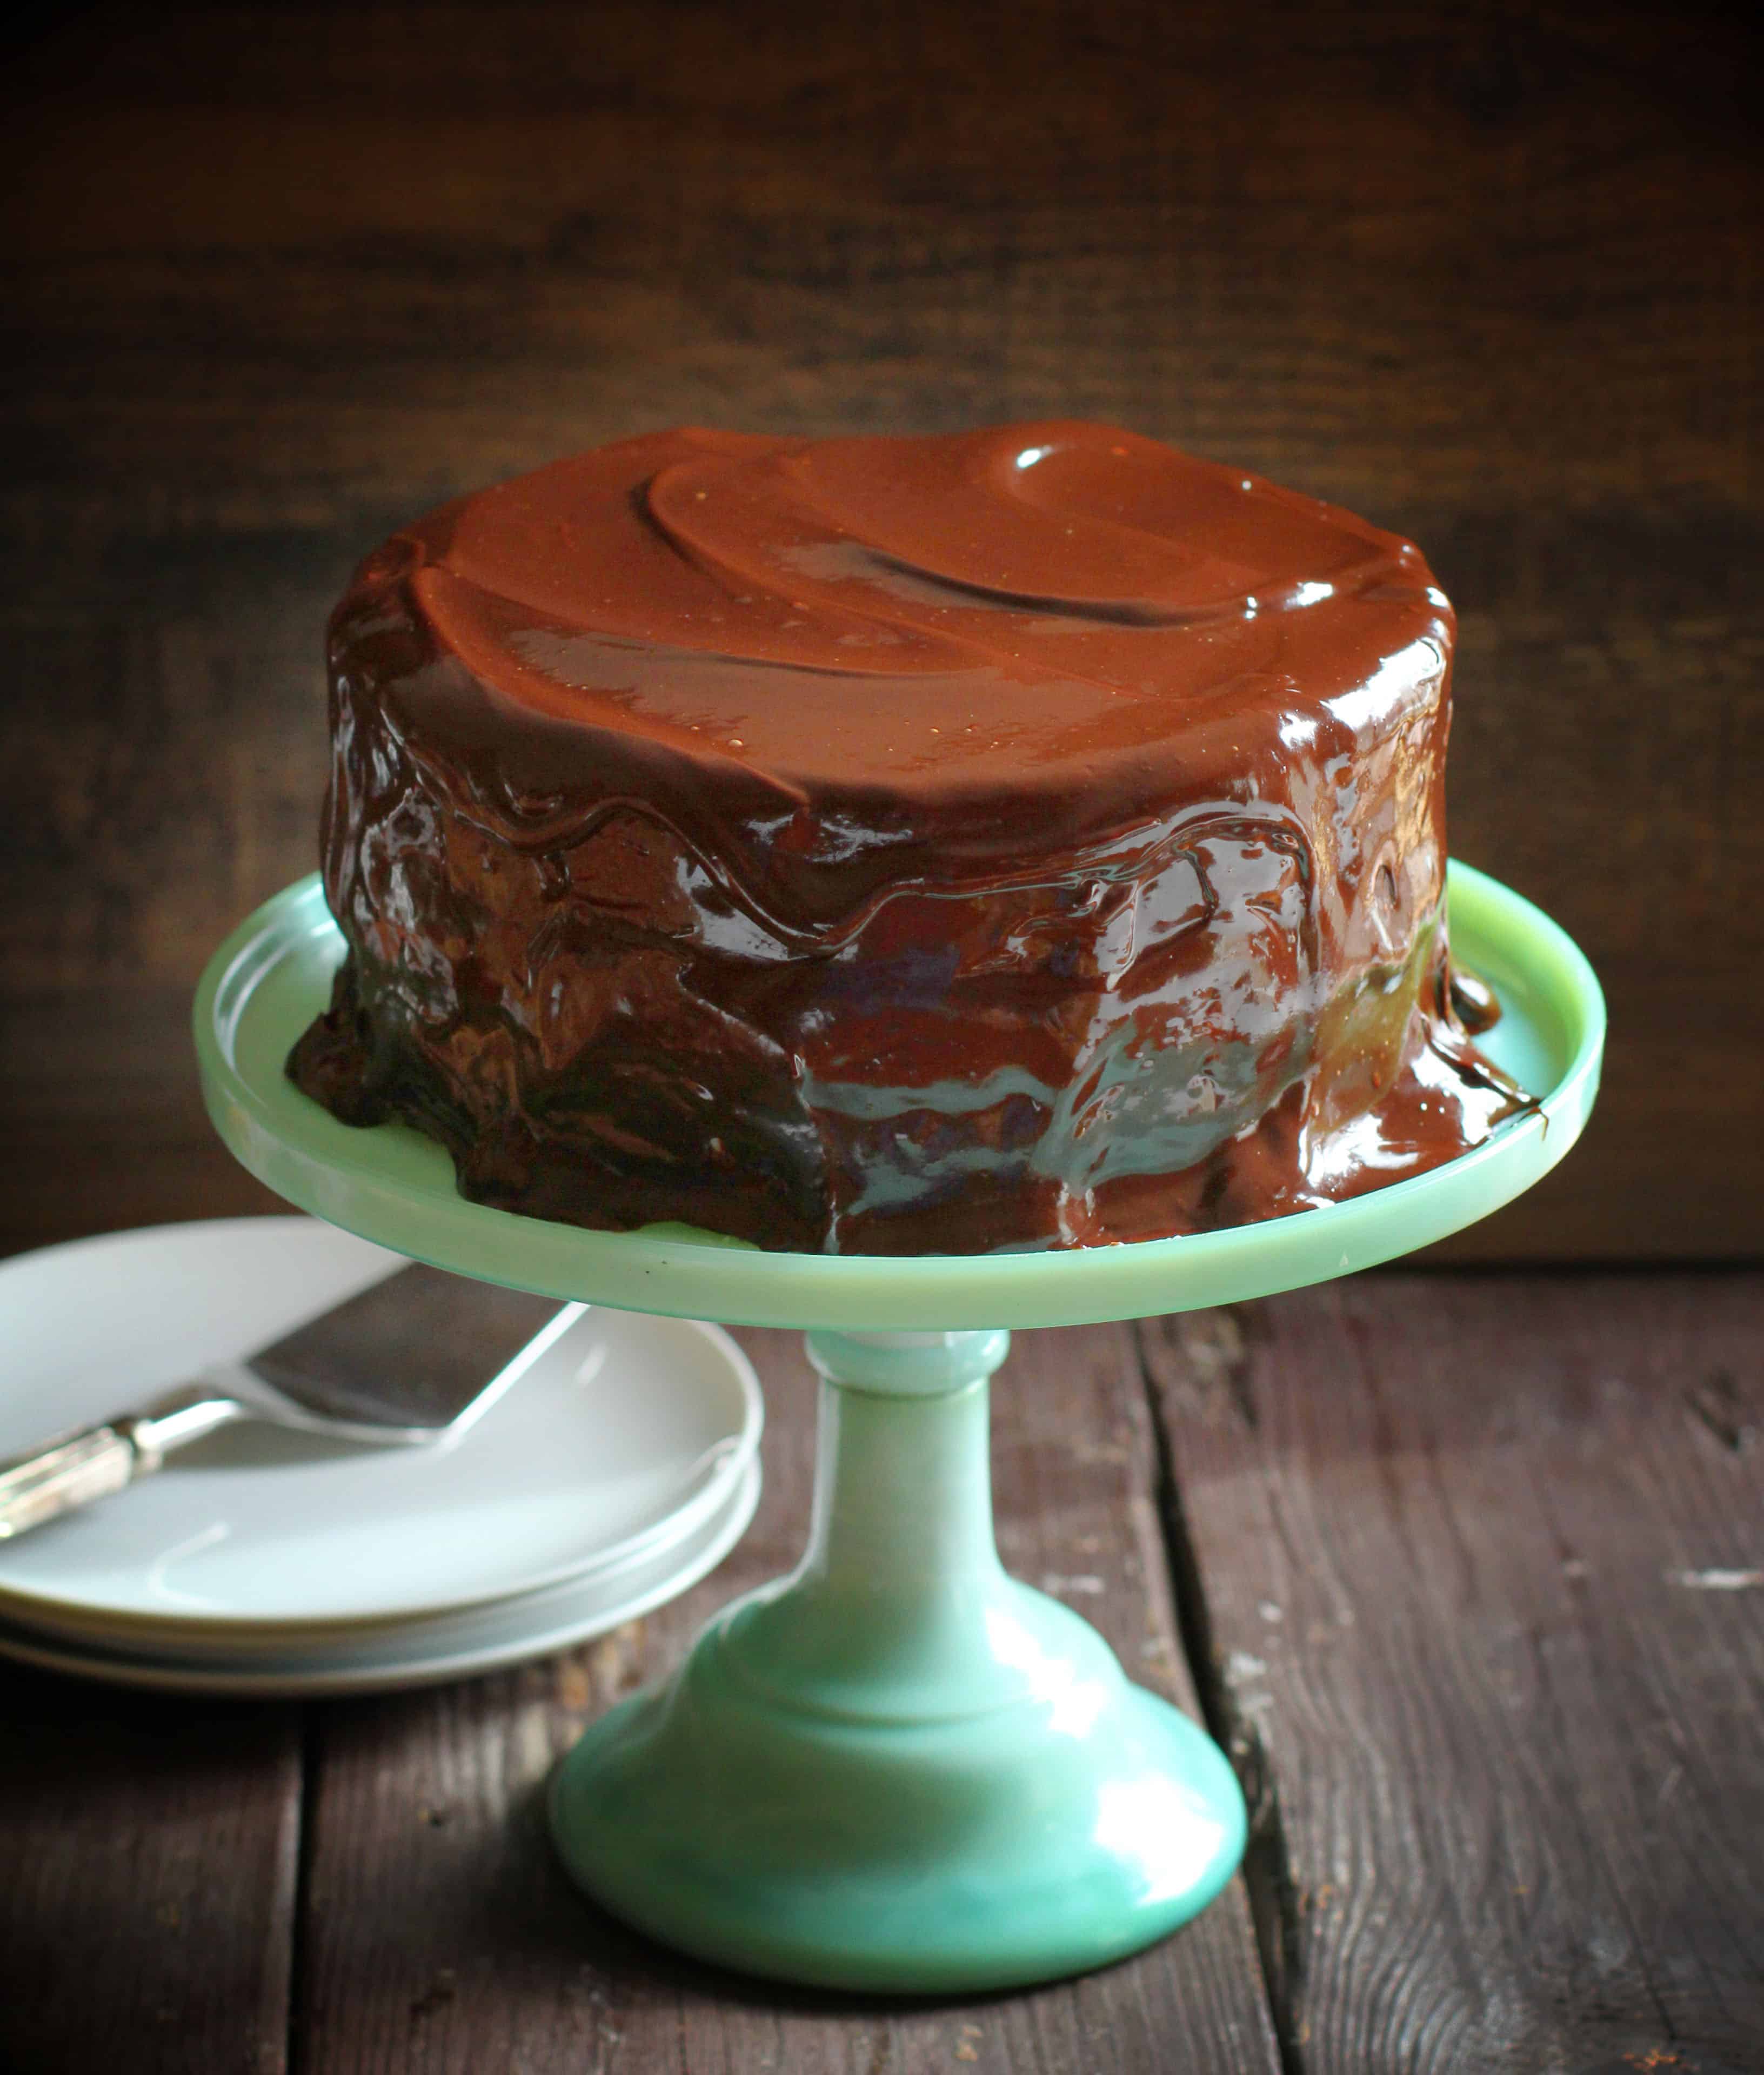
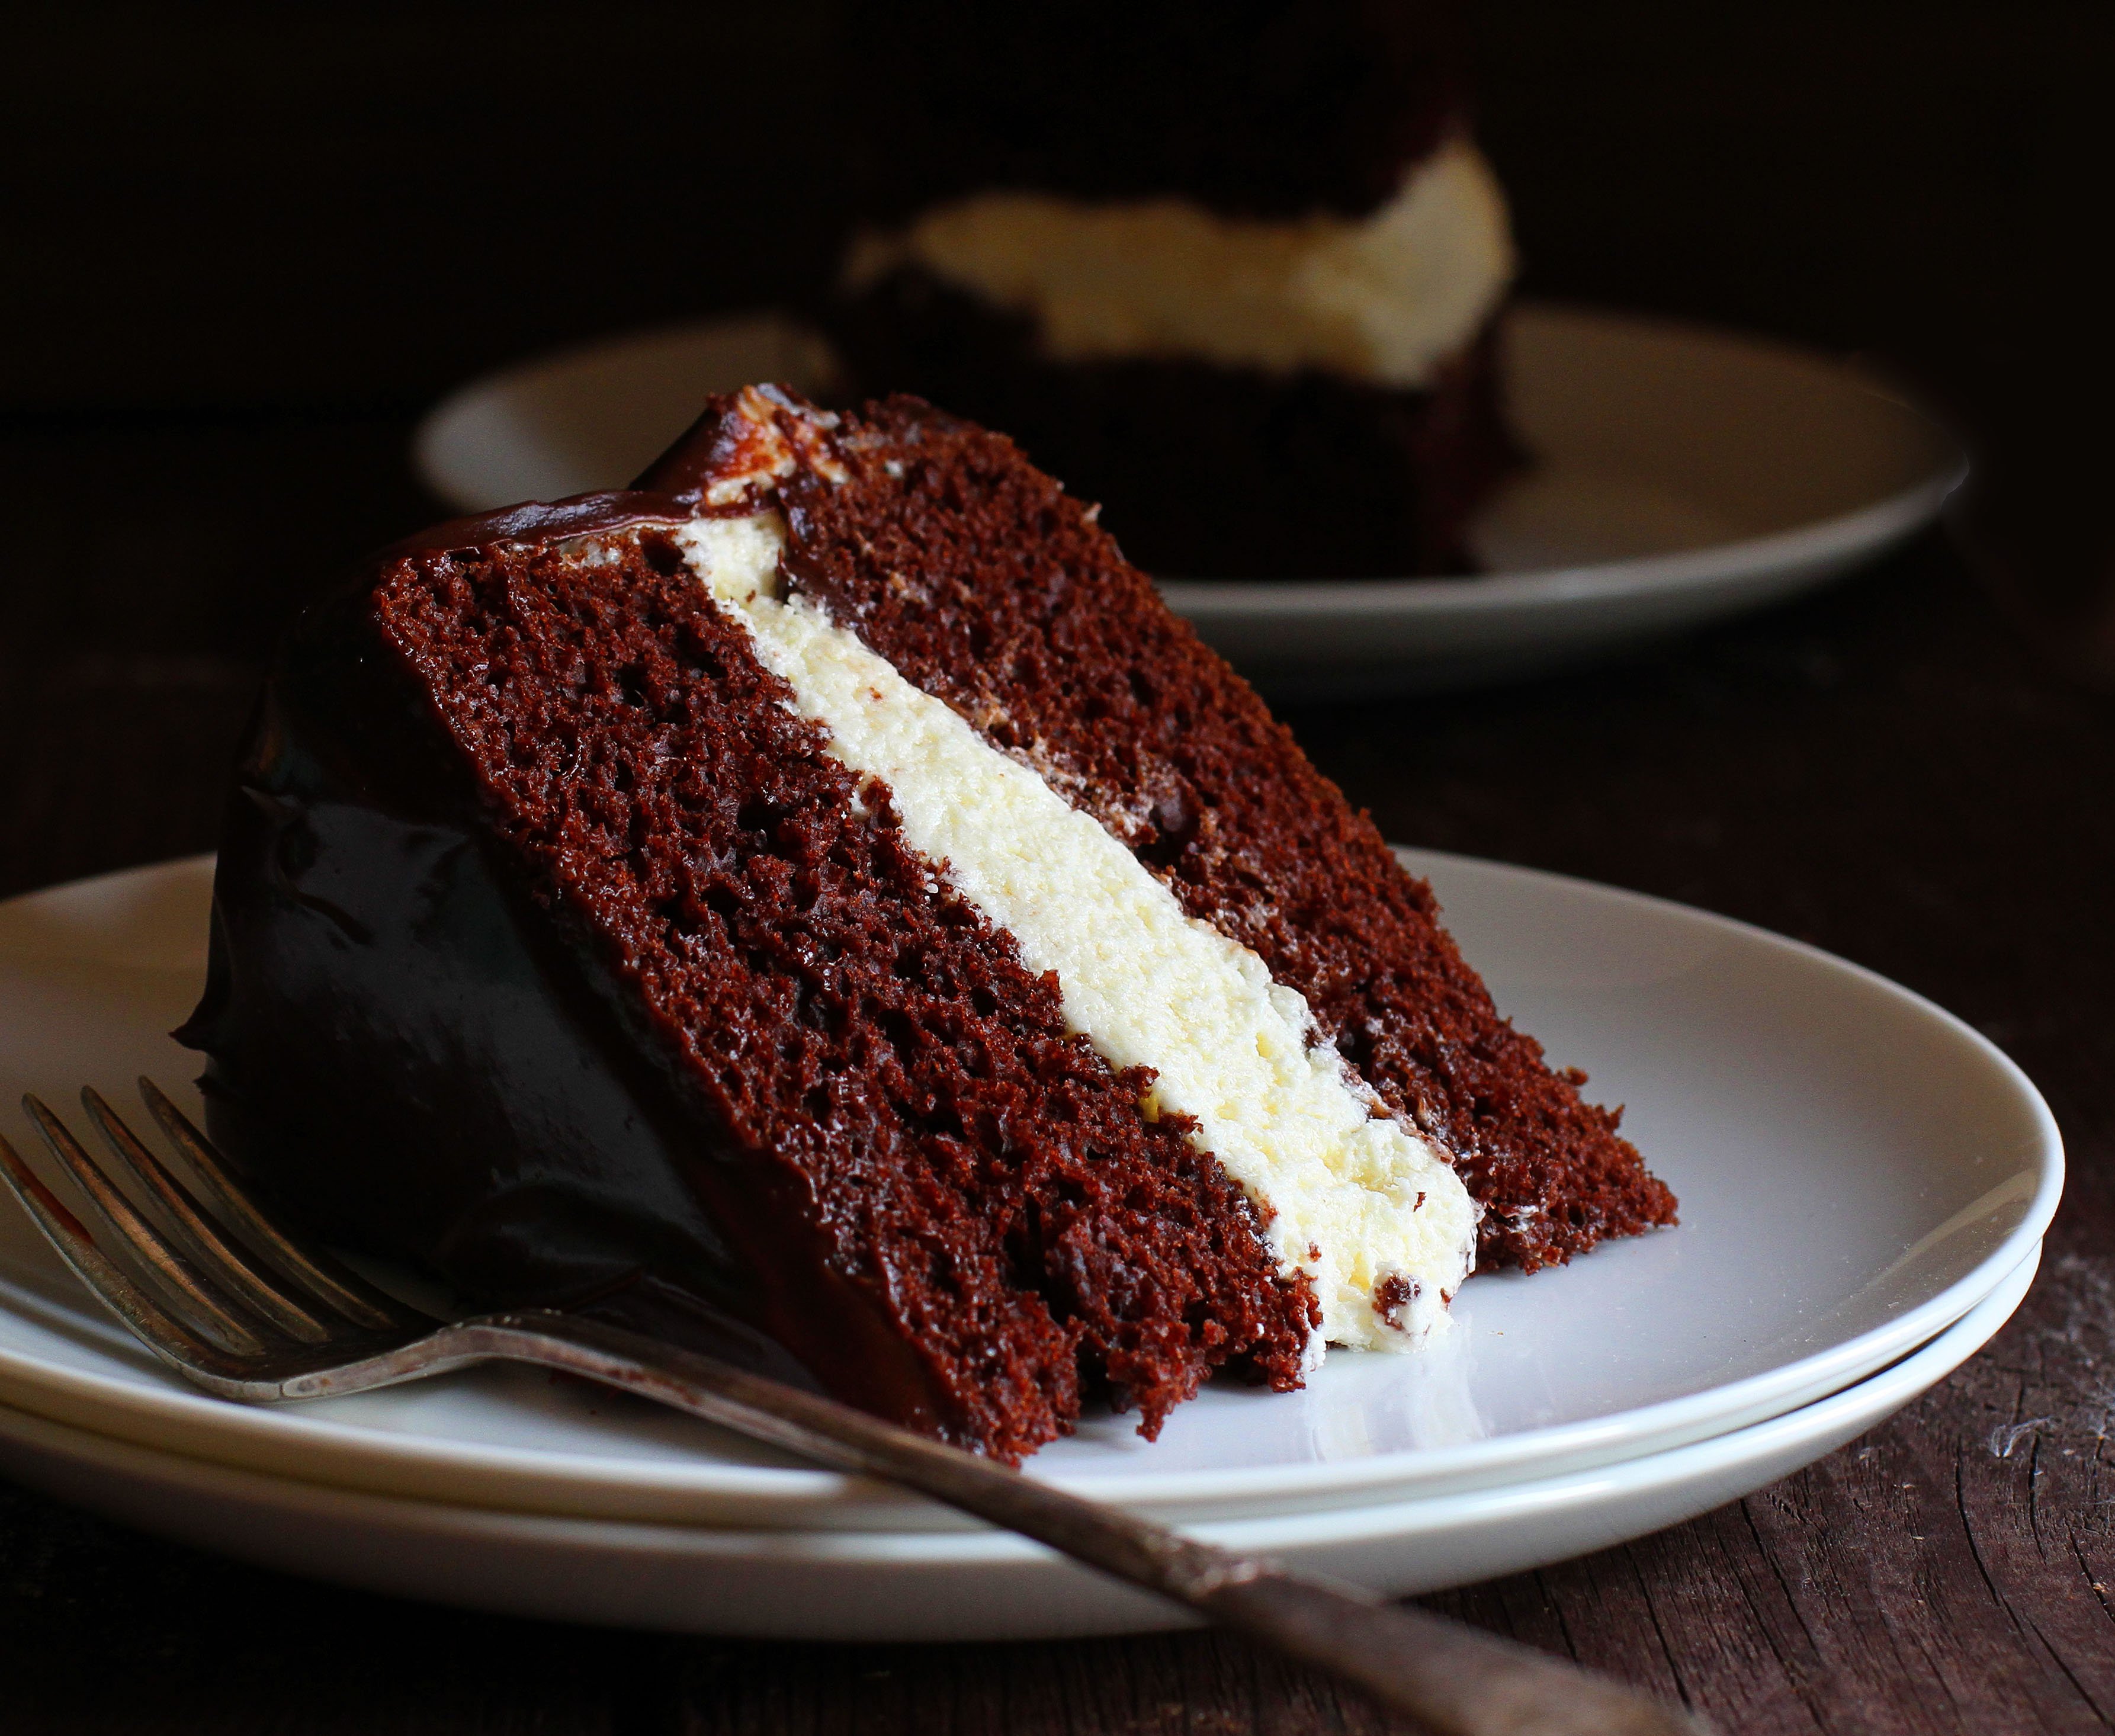
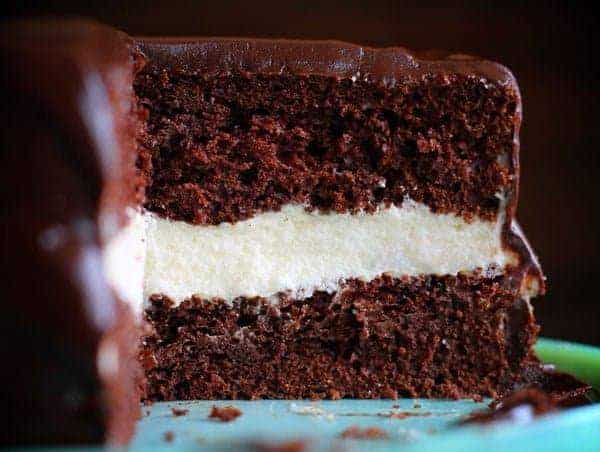
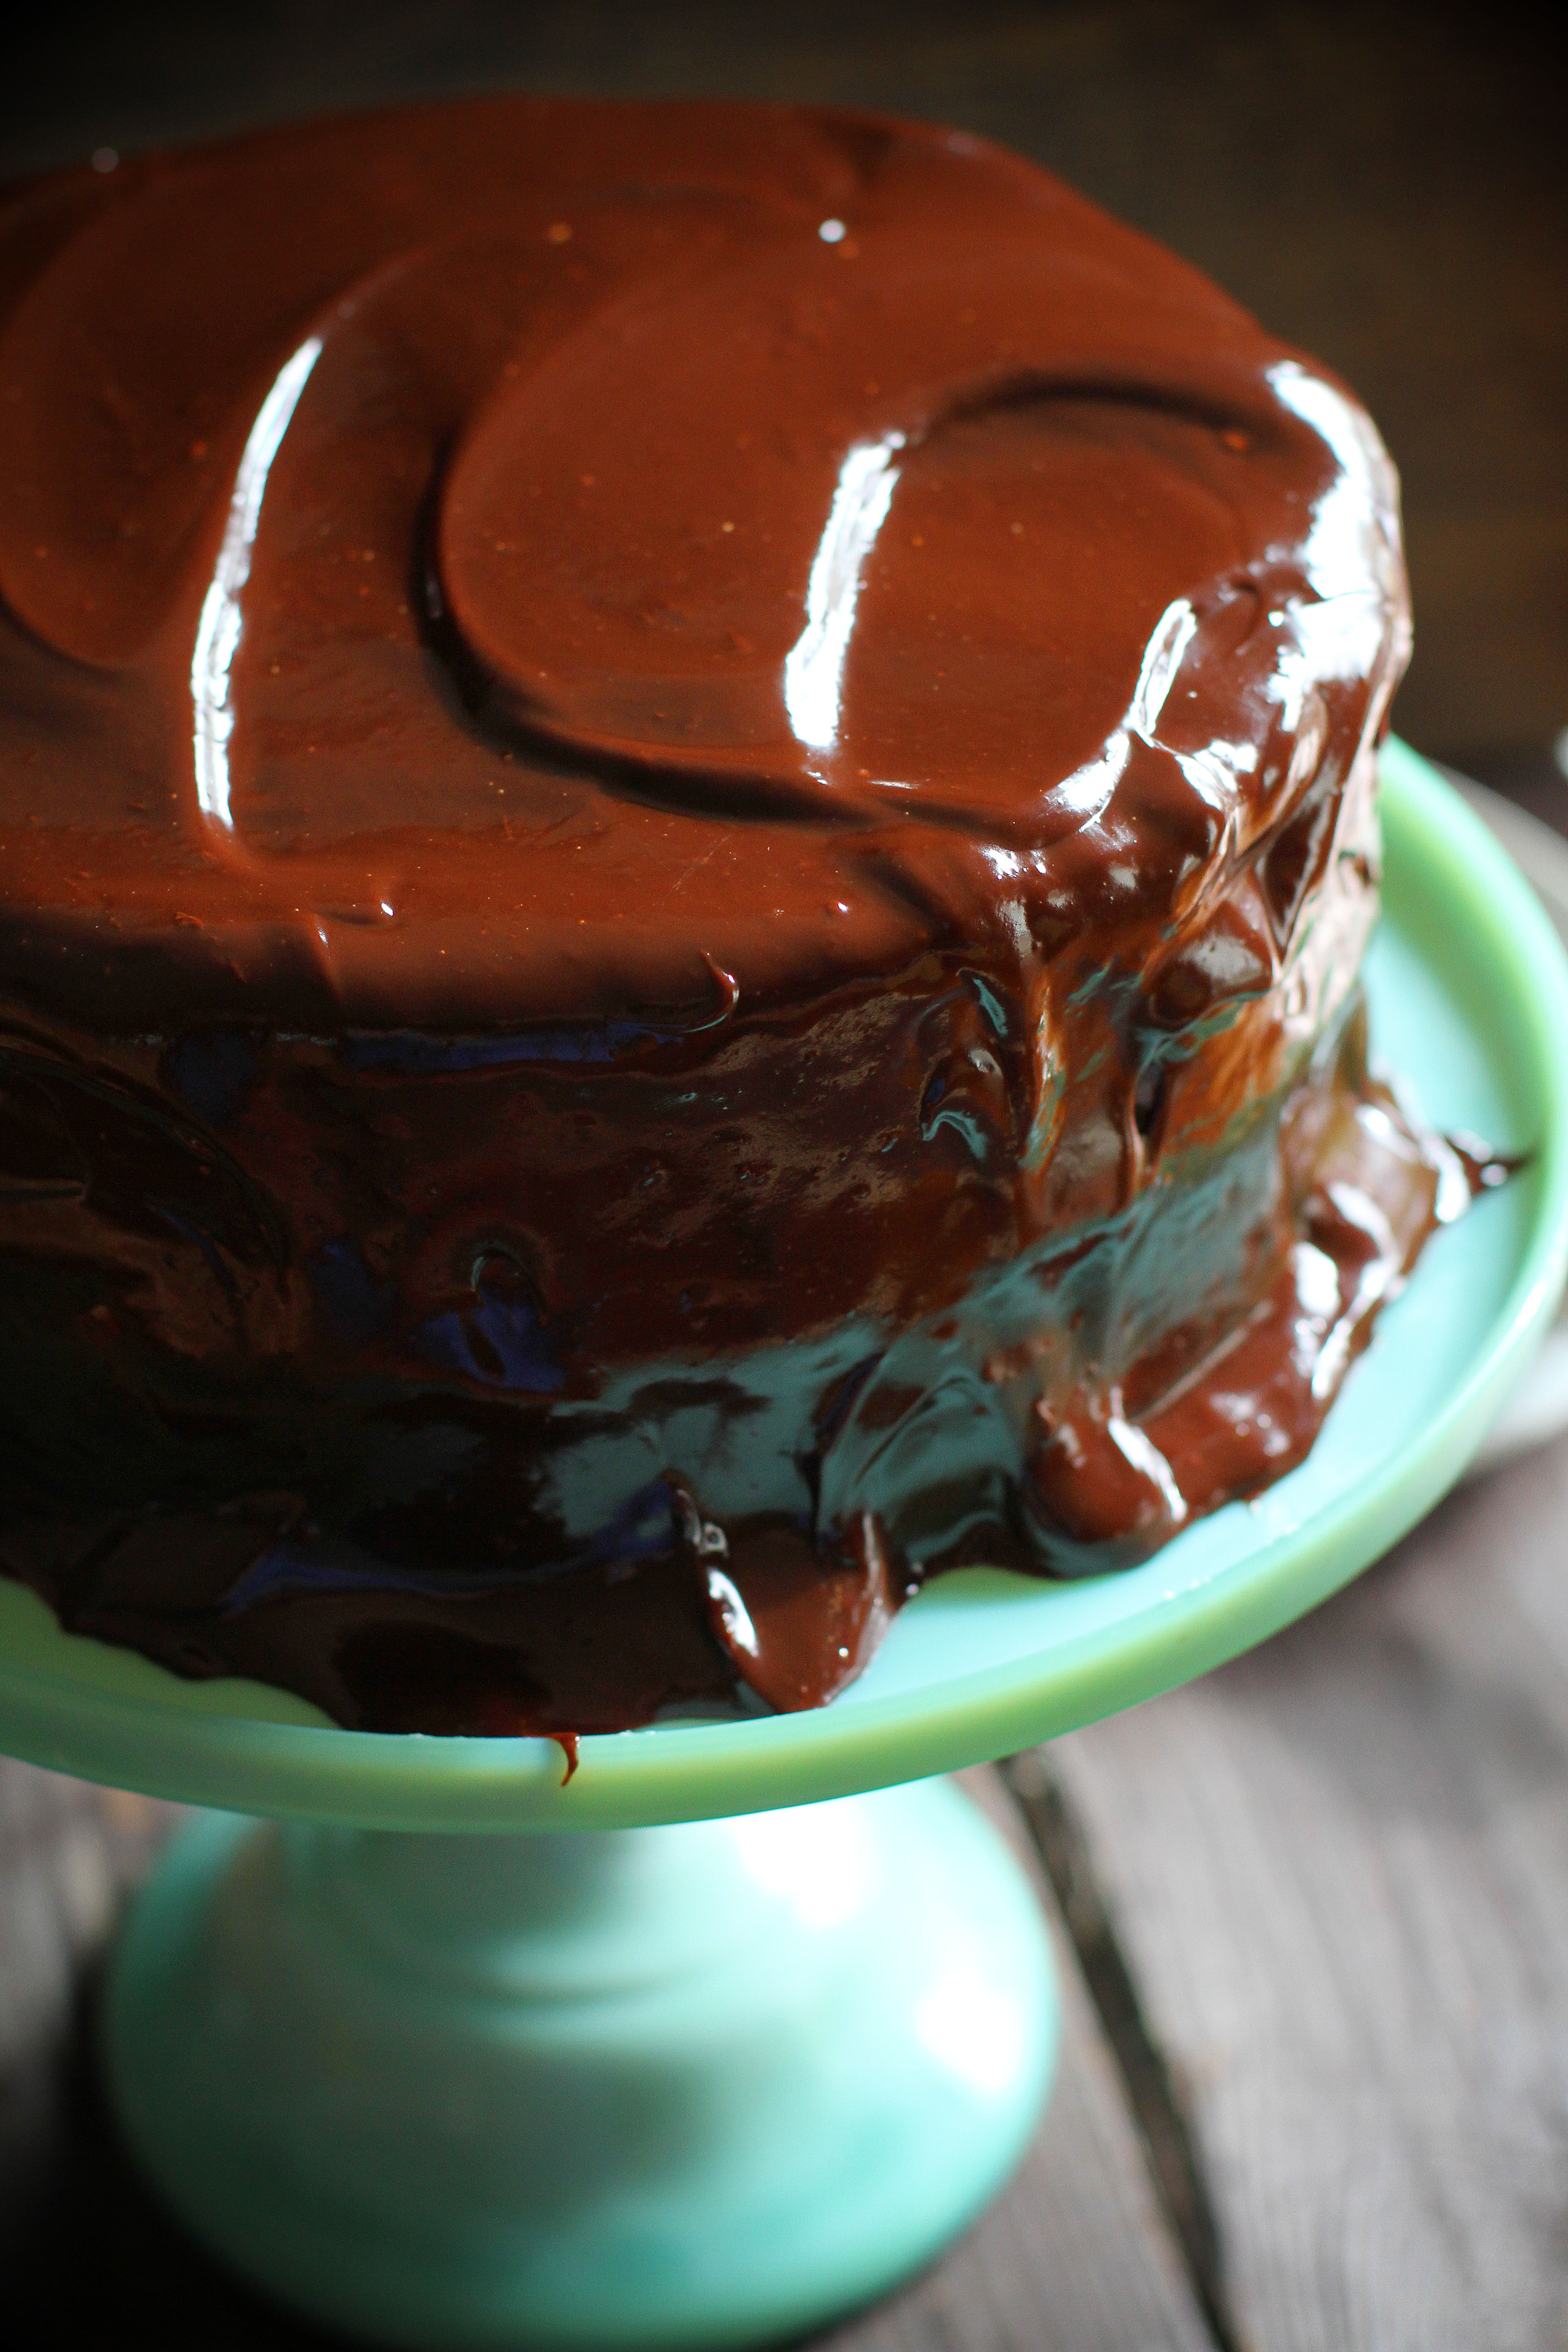
Ding Dong Cake is a decadent treat that is a recreation of the classic Ding Dong, a chocolate whoopie pie with a creamy filling. My cake version combines rich chocolate cake, a light and creamy filling, and a heavenly chocolate ganache to create a dessert that will leave you wanting more. Perfect for chocolate lovers and cake enthusiasts, this recipe is sure to be a hit. You will also love my Ding Dong Sheet Cake! Make sure to try my 50 Best Cake Recipes for even more dessert inspiration!
Ingredients & Substitutions
Cake: The chocolate cake in this recipe is my Perfect Chocolate Cake. The batter is very runny and it is designed to be made in two 8-inch by 3-inch round cake pans. You could also use a boxed chocolate cake mix.
Coffee: Adding brewed hot coffee to the cake batter enhances the chocolate flavor of the cake. The cake will not have a coffee taste. If you don’t have coffee, you can substitute it with hot water.
Filling: The creamy filling is known as an Ermine frosting (also known as Roux frosting or boiled milk frosting). This frosting has a few extra steps compared to a traditional American buttercream, but the result is well worth it. Subtle and creamy, it is the PERFECT filling for this beyond-rich cake.
Ganache: To make the chocolate ganache, you can use either semi-sweet or milk chocolate. If you don’t have a chocolate bar, chocolate chips can be used as a substitute. I also have a Chocolate Ganache Made with Butter recipe you could use.
How to Store Ding Dong Cake
First, place the cake in an airtight container to prevent air exposure and keep it fresh. This will help the cake last for 3-4 days in the refrigerator. Before serving, let the cake come to room temperature for the best flavor and texture.
Can I Freeze Ding Dong Cake?
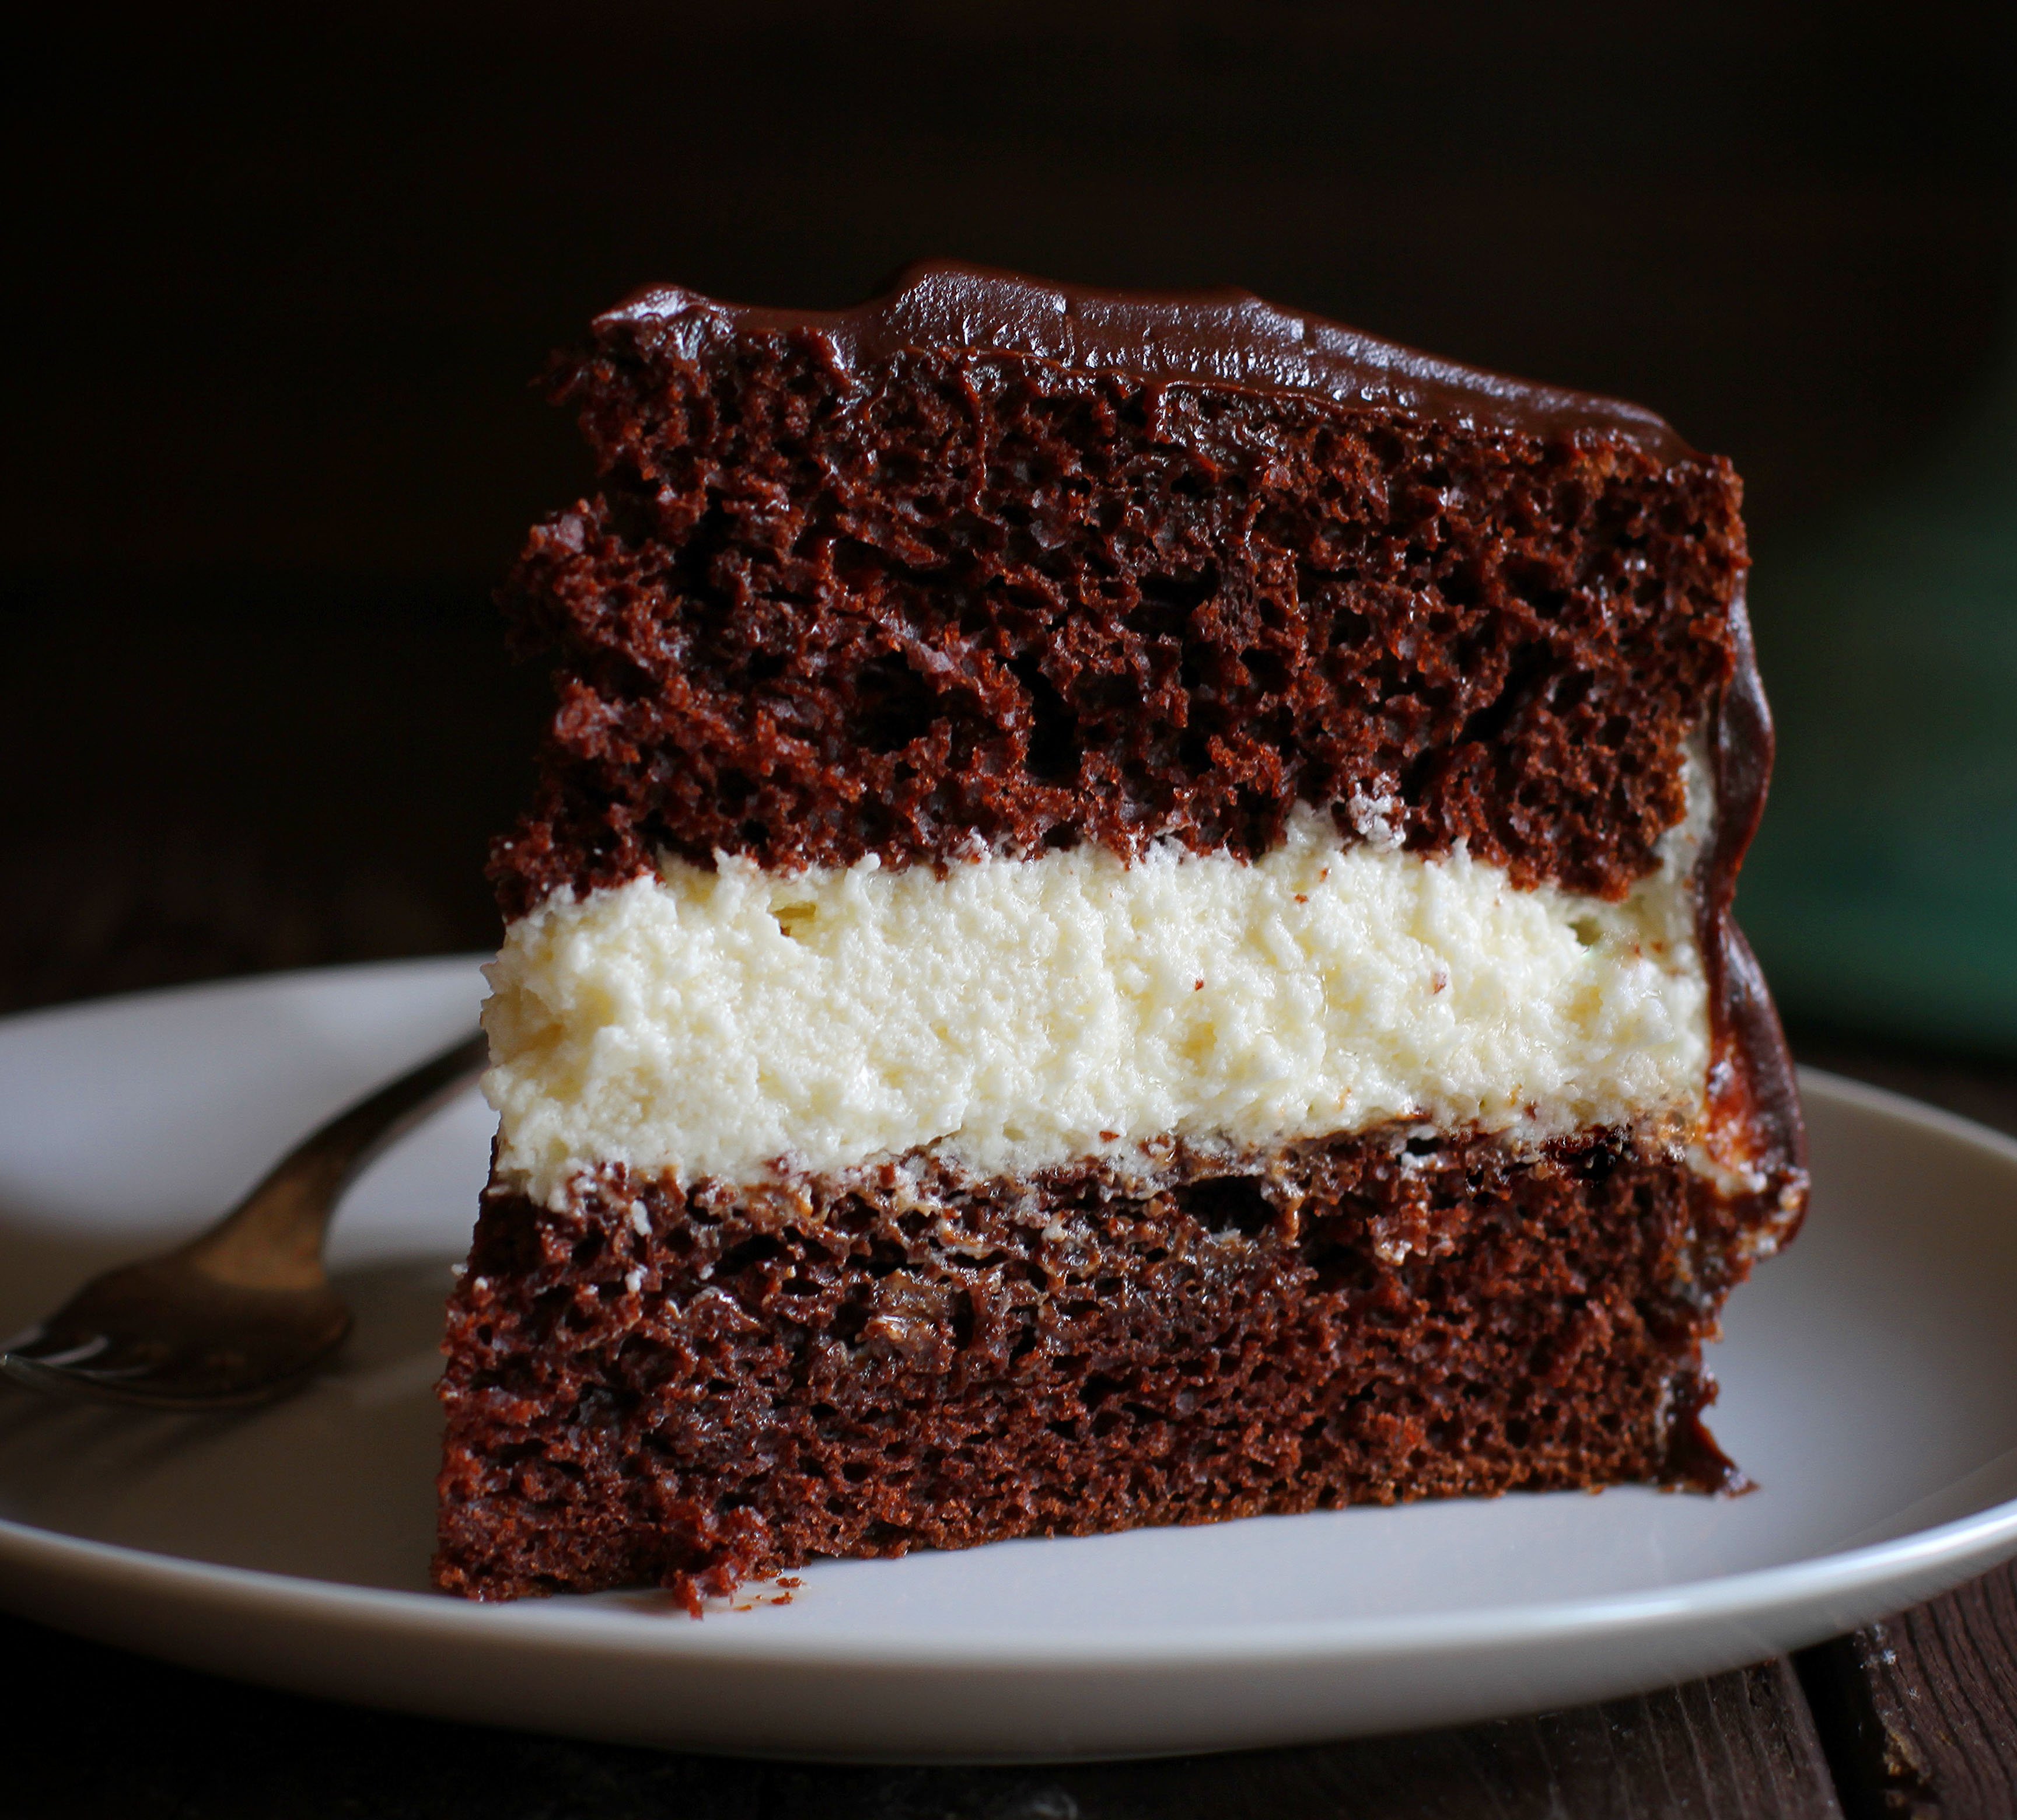
Yes, you can freeze Ding Dong Cake. To freeze the cake, wrap it tightly in plastic wrap or aluminum foil and place it in a freezer-safe container. (I prefer to cut and wrap the cake into individual pieces before freezing.) The cake can be frozen for up to 3 months. When you’re ready to eat the cake, allow it to thaw in the refrigerator for a few hours or on the counter for a couple of hours, then bring it to room temperature before serving. Freezing the cake may affect the texture and taste, so it’s best to eat it as soon as possible for the best experience.
More Chocolate Cakes
Ding Dong Cake
Ingredients
Chocolate Cake
- 1 ¾ cups (219 g) all-purpose flour
- 2 cups (400 g) granulated sugar
- ¾ cup (90 g) unsweetened cocoa powder
- 2 teaspoons baking soda
- 1 teaspoon baking powder
- 1 teaspoon kosher salt
- 1 cup (240 g) buttermilk, room temperature
- ½ cup (112 g) vegetable oil
- 2 large eggs, room temperature
- 2 teaspoons McCormick pure vanilla extract
- 1 cup (237 g) freshly brewed hot coffee
Filling (Ermine Frosting)
- 1 cup whole milk
- 5 tablespoons all-purpose flour
- 1 cup (2 sticks / 227 g) butter
- 1 cup (200 g) granulated sugar
- 1 teaspoons vanilla
Ganache
- 12 ounces semi-sweet chocolate, finely chopped
- 12 ounces heavy cream, room temperature
Instructions
Chocolate Cake
- Preheat the oven to 350°F. Spray 2, 8-inch x 3-inch round cake pans with nonstick cooking spray. (8-inch cake pans with shorter sides may cause an overflow in your oven.) Set aside.
- To the bowl of a stand mixer, add the flour, sugar, cocoa, baking soda, baking powder, and salt. Mix to combine.
- In a separate bowl, combine the buttermilk, oil, eggs, and vanilla.
- With the mixer on low speed, slowly add the wet ingredients to the dry. With the mixer still on low, add the coffee and stir just to combine, scraping the bottom of the bowl with a rubber spatula.
- Pour the batter into the prepared pans and bake for 30-40 minutes, or until a cake tester or toothpick comes out mostly clean with no wet batter.
- Let the cakes cool in the pans for 30 minutes. Then, turn them out onto a cooling rack to let them cool completely.
Filling
- In a medium saucepan over medium heat, whisk together the milk and flour. Cook, whisking constantly, for 3-5 minutes, or until no lumps remain and the mixture thickens and resembles a very thick pudding. It should coat the back of a spoon. Remove the pan from the heat and let the mixture cool to room temperature.
- In the bowl of a stand mixer fitted with the paddle attachment, cream together the butter and sugar on medium speed until light and fluffy (2-3 minutes). Stop the mixer and use a rubber spatula to scrape down the sides of the bowl.
- Add the cooled milk mixture to the bowl of the stand mixer. Beat on medium-high speed until the frosting is light and fluffy (2-3 minutes), pausing to scrape down the sides of the bowl as needed.
- Switch to the whisk attachment. Add vanilla and mix on high for 7-8 minutes, or until the frosting is smooth and creamy.
Ganache
- Place the chocolate into a heat-safe bowl. Set the bowl aside as you heat up the cream.
- To a quart-sized, microwave-safe bowl, add the heavy cream. Microwave for 3-4 minutes on high, or until it just begins to simmer, being careful not to allow the cream to boil over.
- Pour the cream over the chopped chocolate and let stand for at least 2 minutes so that it can thicken.
- When ready to pour over the cooled cake, whisk the ganache until smooth and then pour. You may have some ganache left over.
Assembly
- If needed, level the cakes. Then, place one cake round onto your work surface.
- Spread the filling over the cake. Top with the second cake round.
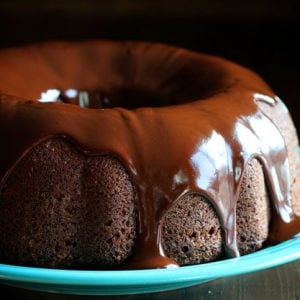
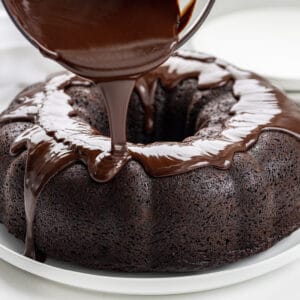
- Pour the ganache over the cake, including the sides. Let it set for a few minutes before cutting and serving.
Did you make this recipe?
Thank you for making my recipe! You took pictures, right? Well go ahead and post them on Instagram! Be sure to mention me @iambaker and use the hashtag #YouAreBaker.


I can’t wait to make the Ding Dong cake. It looks delicious .
We don’t even eat cake, and this looks so yummy I’m going to make it – the icing in the middle looks so decadent, and the balance sounds perfect!
My kids will love that you’ve turned me around!
Oh soooooooooo awesome, but have had to go online all the time to read the ingredients. would love printed copy.
Please send me your buttercream icing.recipe
Couldnt get sugar and butter right plus cake sunk in middle abit
I read you said some were saying the batter spilled over. If they are in high altitude (over 3,000 ft), add 1 tbsp flour to the batter and kick up oven 10 degrees. That takes care of it – just call me “living at 7,000 ft”
This turned out great! To help with some of the questions that others have asked, instead of coffee, I used hot cocoa (I made mine with milk but water should work too). I would also suggest waiting for the ganache to cool down quite a bit so that it won’t melt the cake and won’t be as runny and not stick to the side of the cake (but still needs to be runny enough to drizzle down the side). I refrigerated the assembled cake about 20 min. before putting the ganache on. I then refrigerated it overnight and took it out about 90 min. before serving so the cream in the middle could warm up. It was a hit!
When i made my ganache it was a bit runny. I let it sit for a few minutes and it didnt thicken. What am i doing wrong?
Should the cake be refrigerated after completed?
Quisiera en español las recetas
I have to bake this. Looks delicious. Thanks for posting