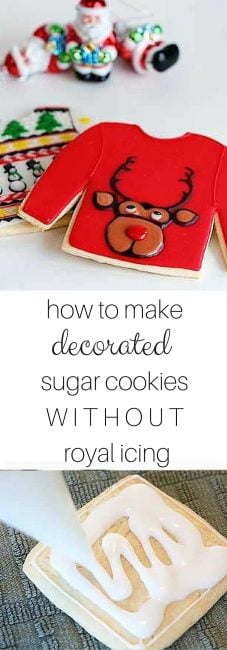
This is a tutorial for how I apply my glaze icing to sugar cookies. Looking for the best Cutout Sugar Cookie Recipe? I’ve got you covered!
Sugar Cookie Glaze Icing
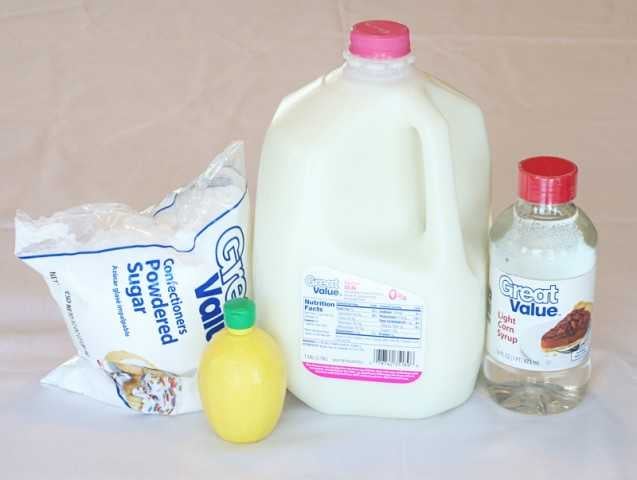
To make my special version of royal icing (glaze icing) these are the ingredients I use. (recipe below as well)
1 cup powder sugar (confectioners sugar)
1 tablespoon milk
1 tablespoon light corn syrup
1 drop lemon juice (can be fresh)
Why do I use Lemon Juice? The acidity helps create a better tasting glaze! You don’t actually taste the lemon AT ALL… it is purely used to counter all the sweet, sweet sugar!
This will outline and fill approximately one dozen cookies in one color.
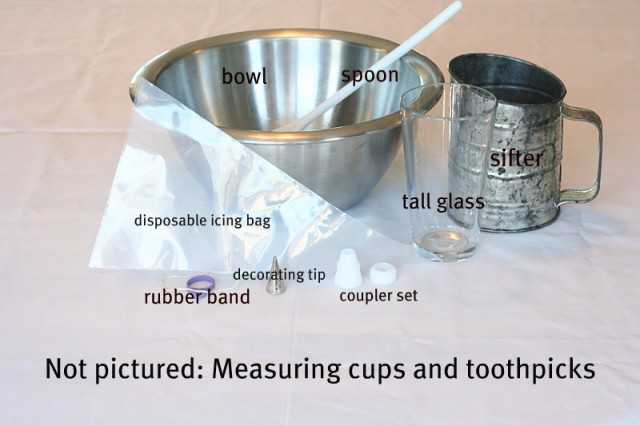

And here are the supplies.
bowl
spoon
sifter
measuring cups
pastry bags
tips & coupler set
rubber band
You can find most of these at your grocery store, however, the coupler set and disposable pastry bags can be found at Michaels and Walmart.
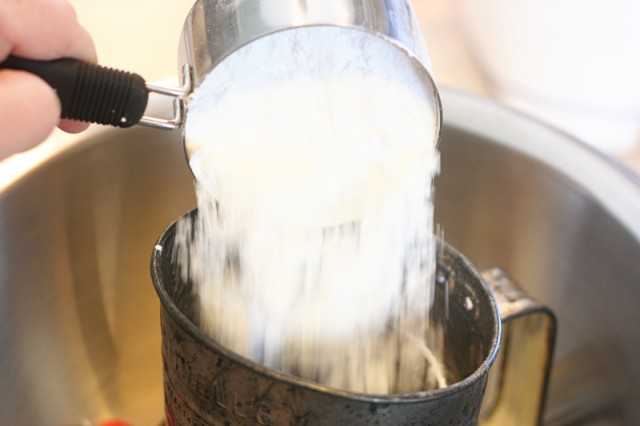
Place one cup of powder sugar in sifter. Try not to skip this step! Lumps in icing are hard to fix.
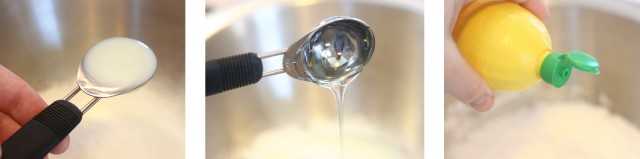
Add one tablespoon milk, one tablespoon corn syrup, and one drop lemon juice.
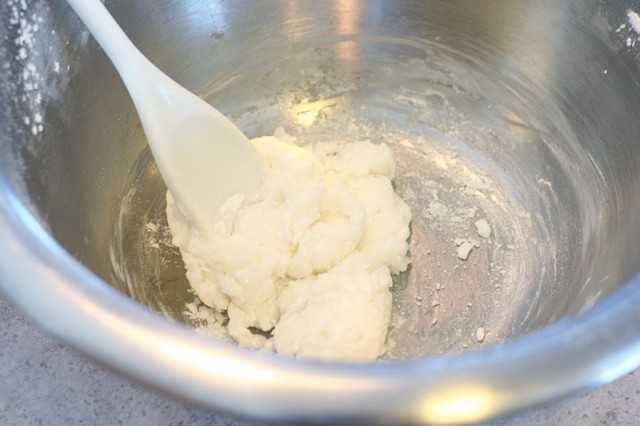
Mix everything together. This looks pretty dry still, so I am going to add a little more milk, about a teaspoon at a time.
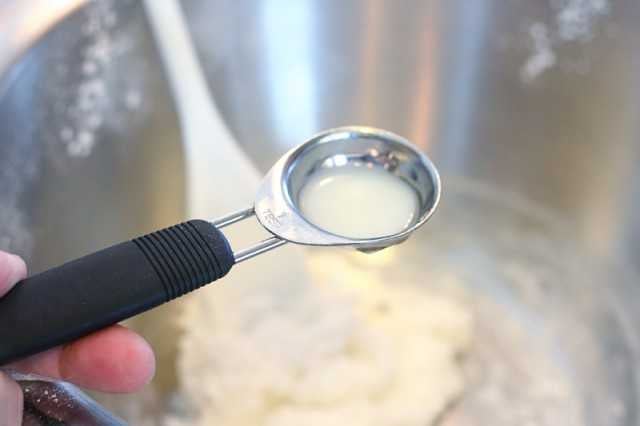
Much better. Still pretty thick but perfect for outlining.
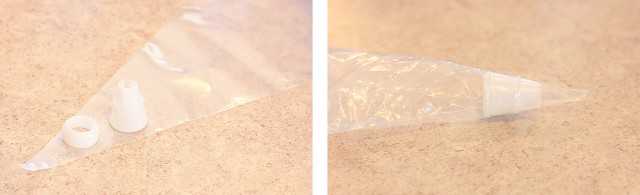
Now, remember these guys? You want to take the large piece in the coupler set and insert it into the bag. Really get it as far into the tip of the bag as you can without stretching the bag.
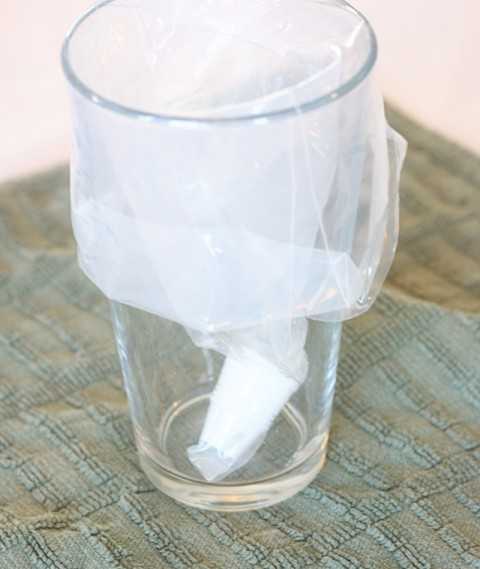
Place bag into a tall glass.

Pour icing into the bag. When it is filled about half way just give your bag a twist, then put a rubber band on it so no icing can spill out the end.
Now put this bowl in the sink and rinse it out! Dried icing is a PAIN to clean up. 🙂
Next, we are going to cut off the tip of the bag. Just cut straight across.
Place your decorating tip on the bag, then place the ring of the coupler set on top of the decorating tip. Tightly screw it on and you are all set!
Before you start icing your cookie, just get a piece of wax paper or use a cookie sheet and practice using your icing bag. Practice making lines… dots… learning the texture and consistency of your icing and how it looks.
Then just start at any corner, apply light pressure to the bag, and begin slowly moving your tip down the side of your cookie.
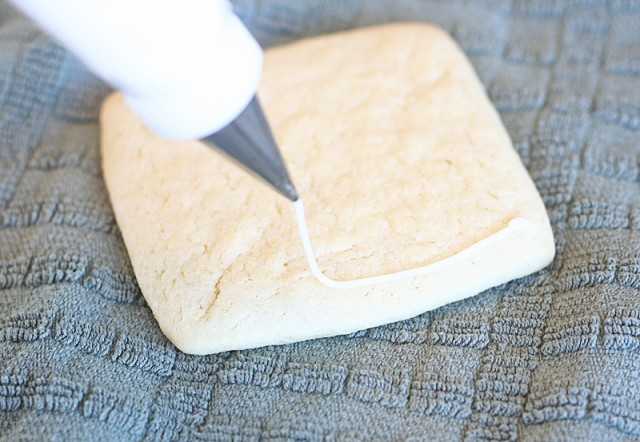
(sorry about the poor quality of these shots… it was REALLY hard to take a picture while icing!)
It’s ok to have a little slack in your line… let the icing flow a bit!
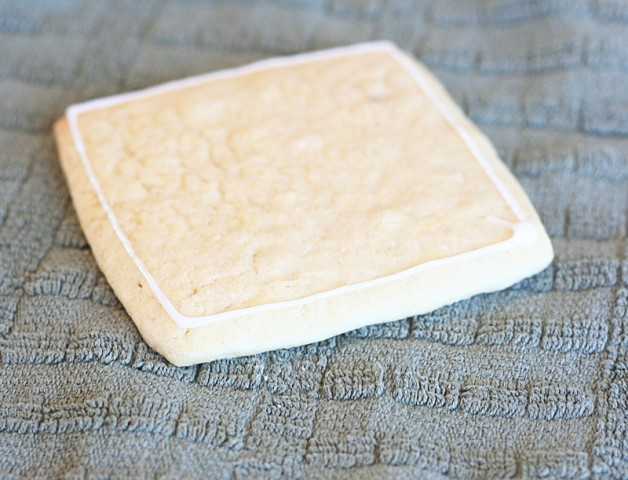
Just make your way around the cookie. If you make a wobbly line or have a ‘break’ in the line just wipe off the cookies and start over. Easy!

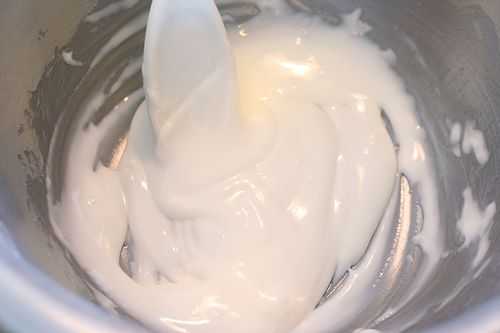
Next, you are going to want to ‘spill’ or ‘flood’ your cookie. So I made another batch of icing, the same way as before, only this time I added more milk to get a runnier consistency.
Once combined, run your spoon along the bottom of the bowl. You will want to be able to see the bottom of the bowl for at least a few seconds. If ten seconds pass and you can still see the bottom of the bowl you will need to add a little more milk.
Now grab another bag. Since I am just using this icing to flood the cookies, I am not going to use a coupler or decorating tip.
Just fill up the bag, twist it, and wrap a rubber band around the top. Then cut off the tip.

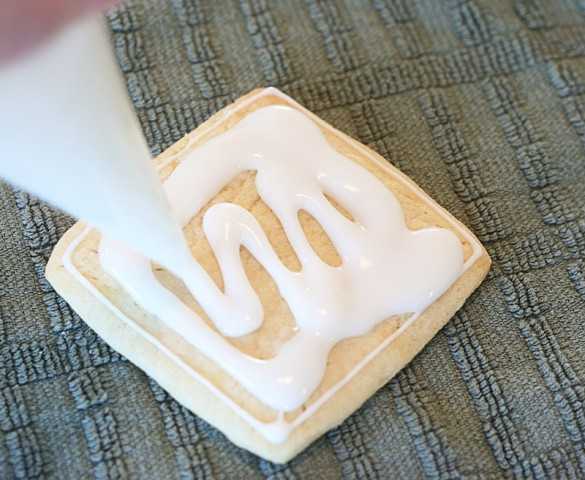
When I flood I generally run a ribbon of icing around the edges then fill in the center a bit. If you flood your cookie completely, as in, have no dry space, there will be too much icing and it will overflow.
Now we will go back in and smooth everything out.
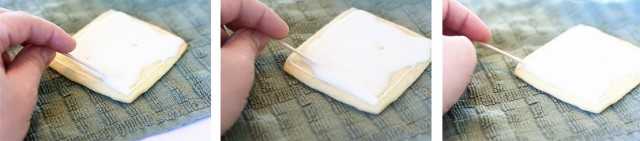
Just grab a toothpick and start moving the icing into the corners. Make sure you cover all the dry cookie!


There will most likely be bubbles. Pop those suckers!
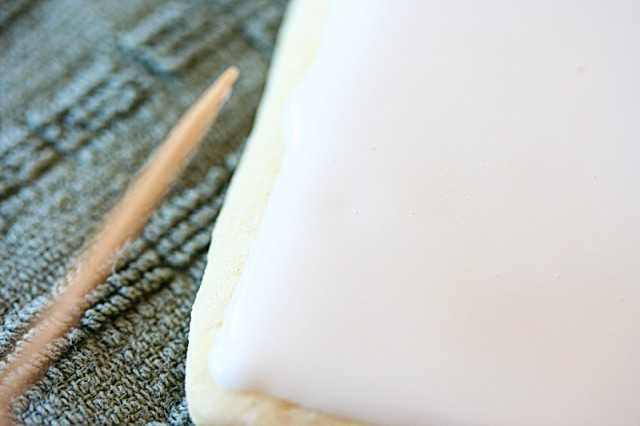
Just use your toothpick. There! All gone.
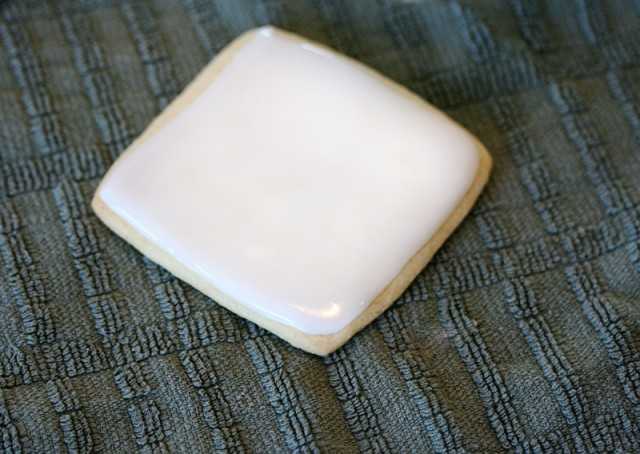
And here is the ‘finished’ cookie. I have finished in quotations because now is when I normally start decorating!
Hope that answers any questions you may have about glaze icing!
I often quadruple this recipe and then divide up the mixture and add food color. When I am outlining and filling cookies I will make a lot of one color with the “thicker” version of the icing, then add more milk to thin the icing down for filling.

Glaze Icing
Ingredients
- 1 cup confectioners' sugar, sifted
- 1 tablespoon milk
- 1 tablespoon light corn syrup
- 1 drop lemon juice, fresh or bottled
Instructions
- Place one cup of confectioners' sugar in a sifter. Try not to skip this step! Lumps in icing are hard to fix.
- Add one tablespoon milk, one tablespoon corn syrup, and one drop lemon juice.
- Mix everything together. If it looks too dry, add more milk, ½ teaspoon at a time. Be sure to mix well after each addition as you don't need much.
Did you make this recipe?
Thank you for making my recipe! You took pictures, right? Well go ahead and post them on Instagram! Be sure to mention me @iambaker and use the hashtag #YouAreBaker.
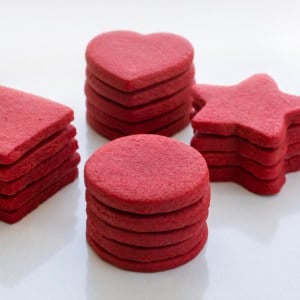
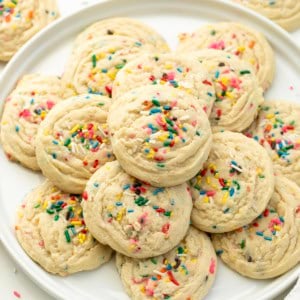
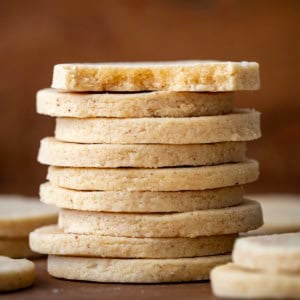
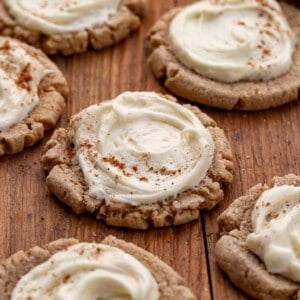
Here are some examples of some decorated sugar cookies as well as some essential tips and tricks!
How To Package and Ship Cookies
Ugly Sweater Christmas Cookies
Rainbow Bus Cookies (VW Bus Cookies)


I just posted some pictures if some cookies I decorated. You really will laugh at them because they look like a 3 year old decorated them. But I had fun and the icing was FAB! I included a link to your blog! http://firsttime9months.blogspot.com/2010/12/5k-and-some-cookies.html Thanks for the recipe. I love it!
Amanada – Do you use the same icing to do your writing (like on the Facebook cookies) or do you use a food-safe writing pen? Your penmanship is amazing either way. Julie
I have a question: I don’t like lemon and was wondering if I could use vanilla instead of lemon juice for this recipe?
Oh my gosh, I wish I would have found your blog ages ago!!! Super helpful tutorial; I cannot wait to try to ice cookies again!
Hi Amanda,
I found your blog from Bridget over at Bat at 350, and I literally have been going through every post… I read a few, minimze the screen, go to work, come home, read some more, make dinner… you get the idea.
You are so talented and I am getting so many ideas. I have what is a really simple question… Do you let your icing outline dry before you flood it? Reading though Bridgets tutorial about how to ice cookies, she mentions she lets it dry for about 30 minutes. Since your icing is different, I wasn’t sure if it was the same or not.
Thank you for all your step-by step instructions. I have just started decorating cookies, and have been doing a few cakes over the last year, and I am so excited to do more. Thanks!
Katie
PS… I hope you get this, since this is a post from over a year ago!
Made some sugar cookies and followed your directions for the icing!! I hope they want be stale by the time they are ready to eat! I made the dough on Sunday, bake some cookies put the rest of the dough in the refrig, baked the rest on Monday and just started icing them last night! I must say the icing directions i followed above worked really well!!! I am so proud of myself! i Still have more to direct its just taking so much time!!! Thank you for all your help!! I would like to attempt making the royal icing though someday!!! The unfrosted cookies were kept in a tupperware container they should be alright don’t you think!!! 🙂
Hi, Great suggestions, thanks so much! What could I use instead of the corn syrup? I live in Nepal and it’s hard to get it, or I can’t get it at all!
Any alternatives would be great!
Thanks
Sally
Hi Amanda,
First of all, would like to say that I LOVE your website so much ! You have a talent in baking beautiful cookies & cakes.
Second, do you know if there’s any substitute for corn syrup? I live in Australia & they told me that golden syrup can replace corn syrup in most recipes, but I just realized that your corn syrup is colorless (which makes it easy to color) and my golden syrup is … well, it’s brown. I’m not quite sure how to color this because it already has color to begin with. Please help. Thank you ! 🙂
HI there – I live in Australia too and just made this with Glucose Syrup (found in the baking aisle at Woolworths)- I figure it must be the same stuff as on my jar it says (made form Corn) straight under Glucose Syrup. Anyway it worked a treat and looks amazing!!
Saw you on Pinterest and had to come check this out because… this is my favorite cookie glaze for the last 15 yrs! It is THE glaze/frosting to use for gingerbread men when you want to do those outlines and zigzags! Works great with gel/paste color, too, and SO much easier to deal with than royal (pain … ) icing. TIP: you get the best results when you keep the milk/corn syrup in equal proportions, so I mix 1/8 — 1/4 c. each together, and dilute the sifted powdered sugar to the consistency I want; how much you use also depends on the recent humidity. PS don’t use “Lite” corn syrup as in less sugar, use Light as in not Dark.
@Stef V although Dark or Golden Syrup works too but it is more an ivory or buff… I am at this minute testing whether a frosting whitener lets this harden as it should — it does whiten it nicely.
Awesome tips and info!! Thank you!